Layout Construction Updates for 2009
The Home and Design of the RGW
Layout Construction
March 2009
It has been too long since this section of the website has been updated, for that I apologize. I hope the video update of our first run from staging to Renton Yard met with your approval. It has been a busy winter, one that set record cold temperatures and wreaked havoc on some of the trackwork we already had in place. Here in Washington, temperatures in the winter months will get to freezing, sometimes even below, but rarely for any sustained period. Not so this winter, a record cold snap saw temps in the teens and 20’s for about 14 consecutive days. It was a true shock to head out to the RGW to work, only to find the track in about 7 locations so warped out of alignment, I was sure the track was permanently damaged. Fortunately, it was not and went back into place with a little force, the use of a straight edge and some extra track spikes.
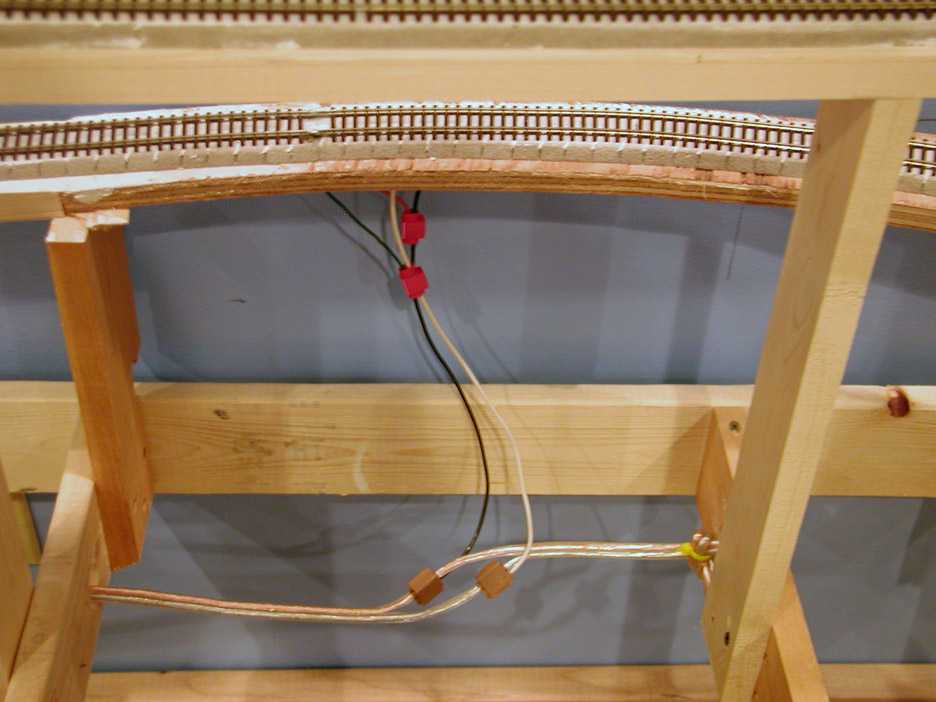
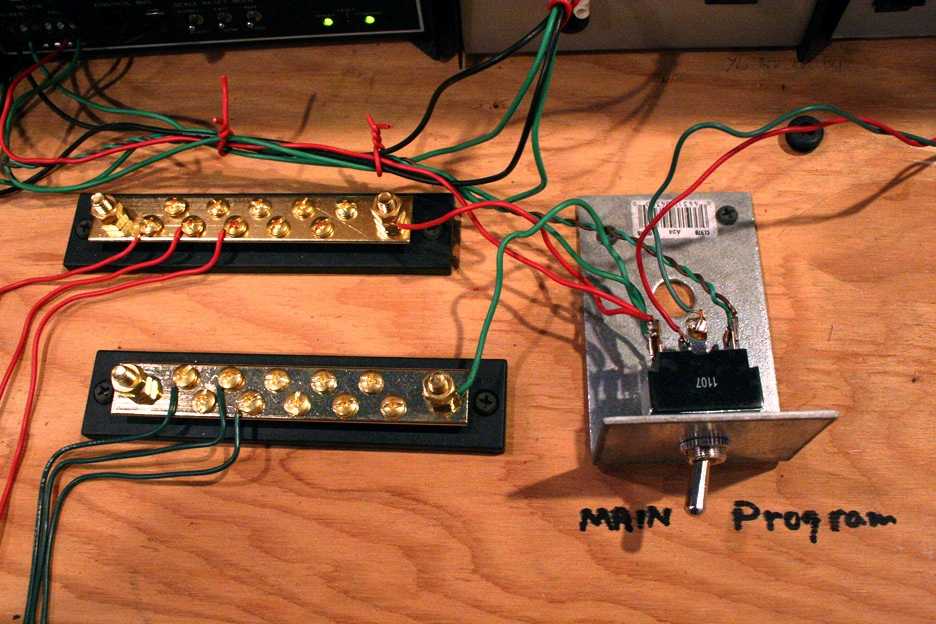
Since our video update there have been several other work parties to keep the progress on track. We decided to pull the old 16 gauge house wire bus and replace it with 16 gauge speaker wire. We added NCE EB-1’s (pic #1 below) to add short detection to our control blocks. You can see the placement of those (front left) in the first photo below. Also in the first pic, in the back right, you can see a separate transformer that provides power to the turnout bus. In addition, we rewired the programming track and replaced the DPDT Center-off switch. This dictates whether power is on the main, or on the programming track. As you can see from pic #2, it is clearly marked. We also used two marine grade busbars (located just left of the toggle) to distribute the hot and common among the EB-1’s. Finally, we set about connecting feeders about every 6 feet around the various control blocks. We have room for 9 total. We decided to try suitcase connectors to attach the feeders to the bus. As you can see in the third pic below, we used Scotchlok (3M) Red #905’s for the connections off the feeder and then Scotchlok Brown #567’s to make the connection to the bus. So far we are pleased with the ease of use and there does not appear to be any loss of power through the connections themselves.
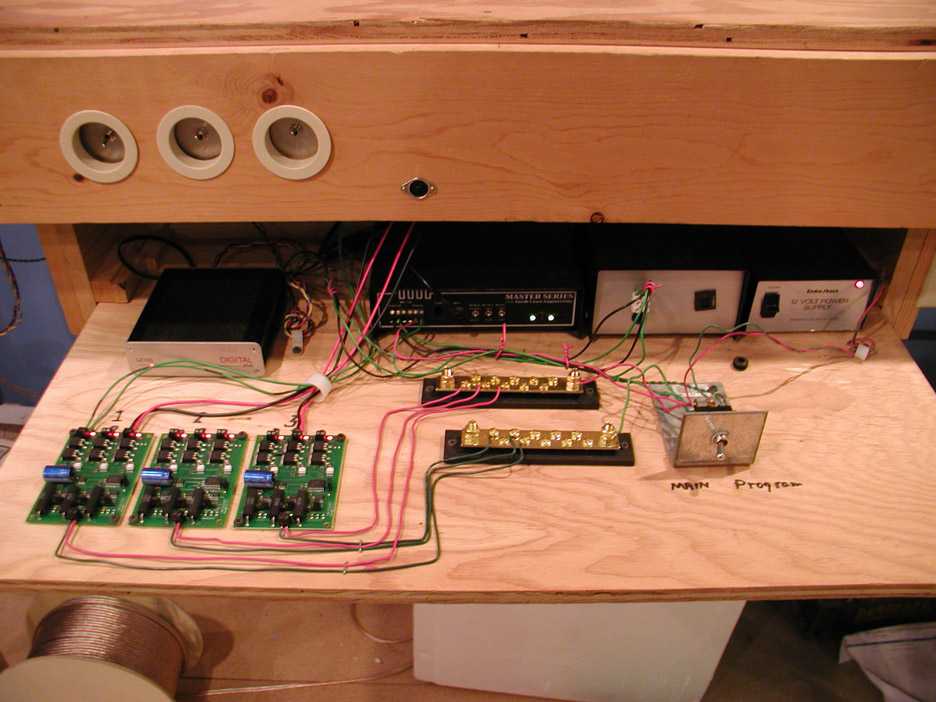
Since our video update there have been several other work parties to keep the progress on track. We decided to pull the old 16 gauge house wire bus and replace it with 16 gauge speaker wire. We added NCE EB-1’s (pic #1 below) to add short detection to our control blocks. You can see the placement of those (front left) in the first photo below. Also in the first pic, in the back right, you can see a separate transformer that provides power to the turnout bus. In addition, we rewired the programming track and replaced the DPDT Center-off switch. This dictates whether power is on the main, or on the programming track. As you can see from pic #2, it is clearly marked. We also used two marine grade busbars (located just left of the toggle) to distribute the hot and common among the EB-1’s. Finally, we set about connecting feeders about every 6 feet around the various control blocks. We have room for 9 total. We decided to try suitcase connectors to attach the feeders to the bus. As you can see in the third pic below, we used Scotchlok (3M) Red #905’s for the connections off the feeder and then Scotchlok Brown #567’s to make the connection to the bus. So far we are pleased with the ease of use and there does not appear to be any loss of power through the connections themselves.
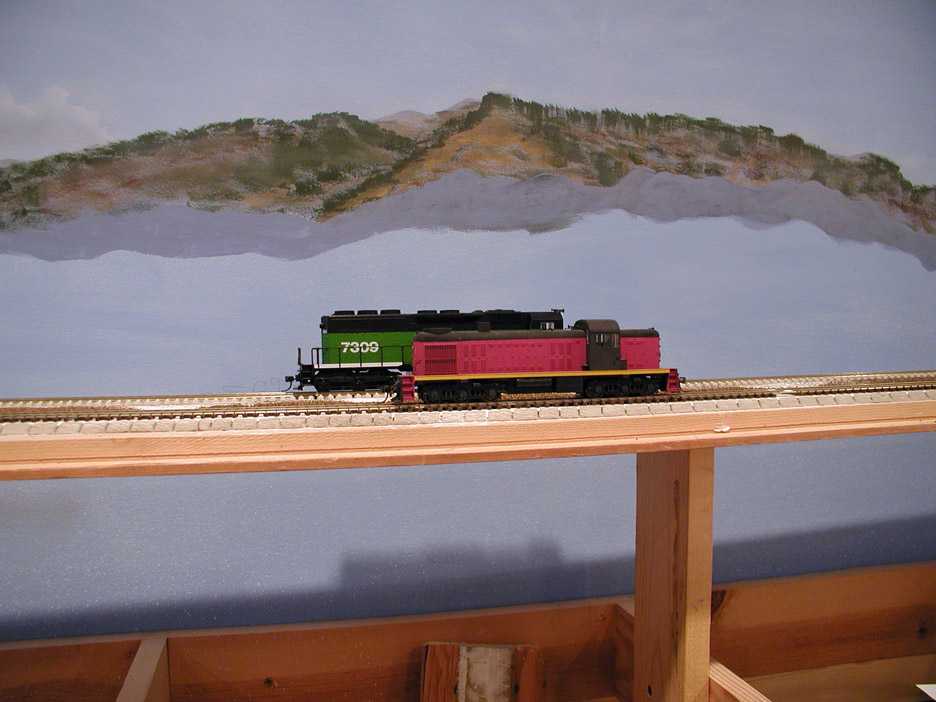
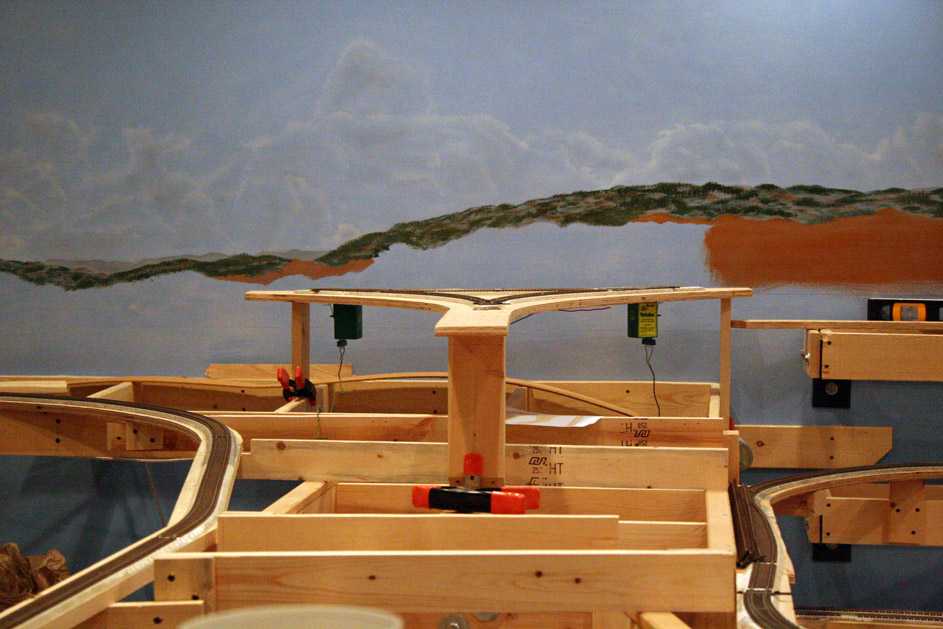
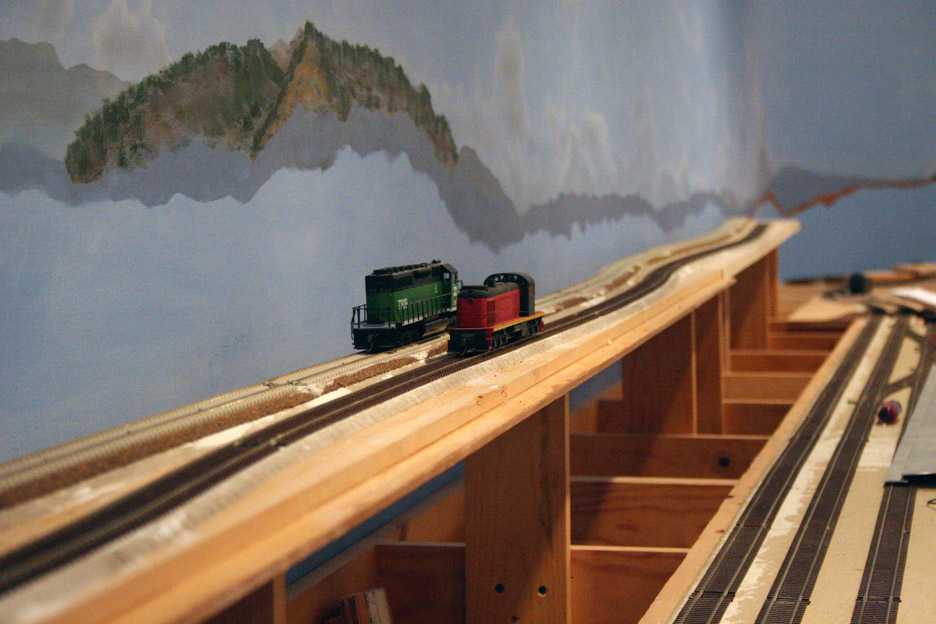
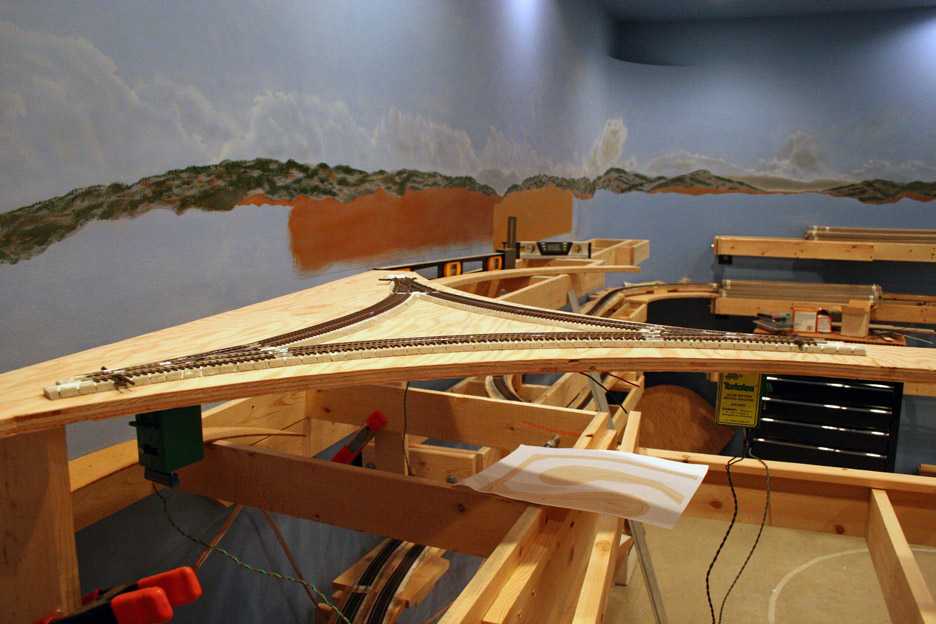
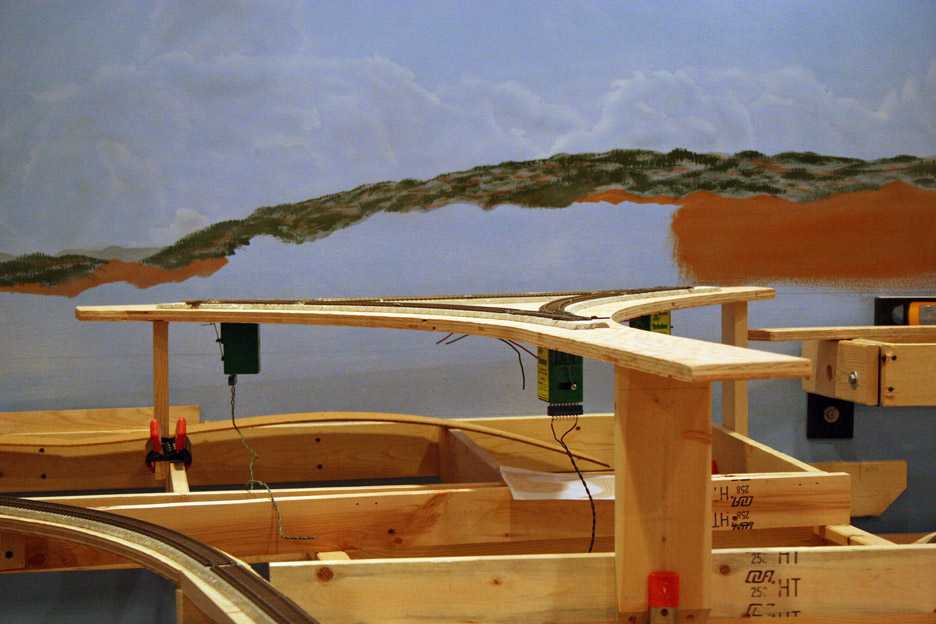
In the first three pictures shown below, you will see the upper level wye. While only temporarily installed in these pictures, it is fairly close to its eventual location, with the possible exception of height, we have determined in a subsequent work party that it is about 1″ too low in these photos. This will be the transition from the upper level run-through to Franklin, the location of our second operating coal mine. As you can see from the pics, we have already wired the wye for power and turnouts. For a quick review of our turnout control process, check the Modeling page of this website. The final two pics show the actual location of the upper line along the south wall. In these pics, you can see that we decided to run the middle and upper levels side by side for this section to give us some interesting “meet” opportunities, while raising the roadbed level on the far track (owned by BNSF, signified by the concrete ties) to provide a bit of an illusion of distance, since these tracks in reality are no where near each other.
In the first three pictures shown below, you will see the upper level wye. While only temporarily installed in these pictures, it is fairly close to its eventual location, with the possible exception of height, we have determined in a subsequent work party that it is about 1″ too low in these photos. This will be the transition from the upper level run-through to Franklin, the location of our second operating coal mine. As you can see from the pics, we have already wired the wye for power and turnouts. For a quick review of our turnout control process, check the Modeling page of this website. The final two pics show the actual location of the upper line along the south wall. In these pics, you can see that we decided to run the middle and upper levels side by side for this section to give us some interesting “meet” opportunities, while raising the roadbed level on the far track (owned by BNSF, signified by the concrete ties) to provide a bit of an illusion of distance, since these tracks in reality are no where near each other.
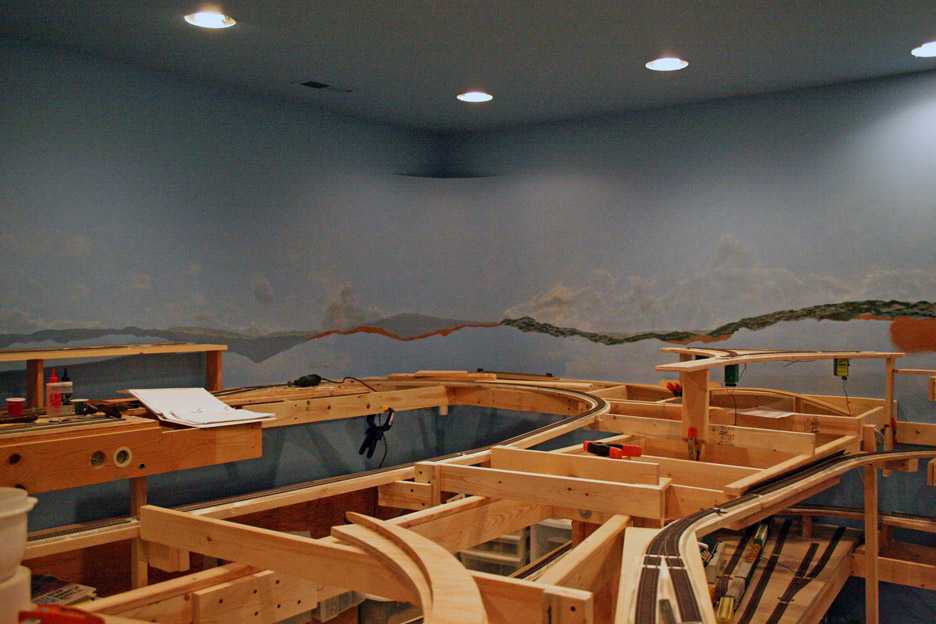
In our next edition of the update, we will complete the middle level from the Southwest corner (see pic #5 above) through the return on the west peninsula and hopefully all the way back to the west wall. Til next time….